
Shavette for Beginners: How to Get Barber-Perfect Beard Lines at Home
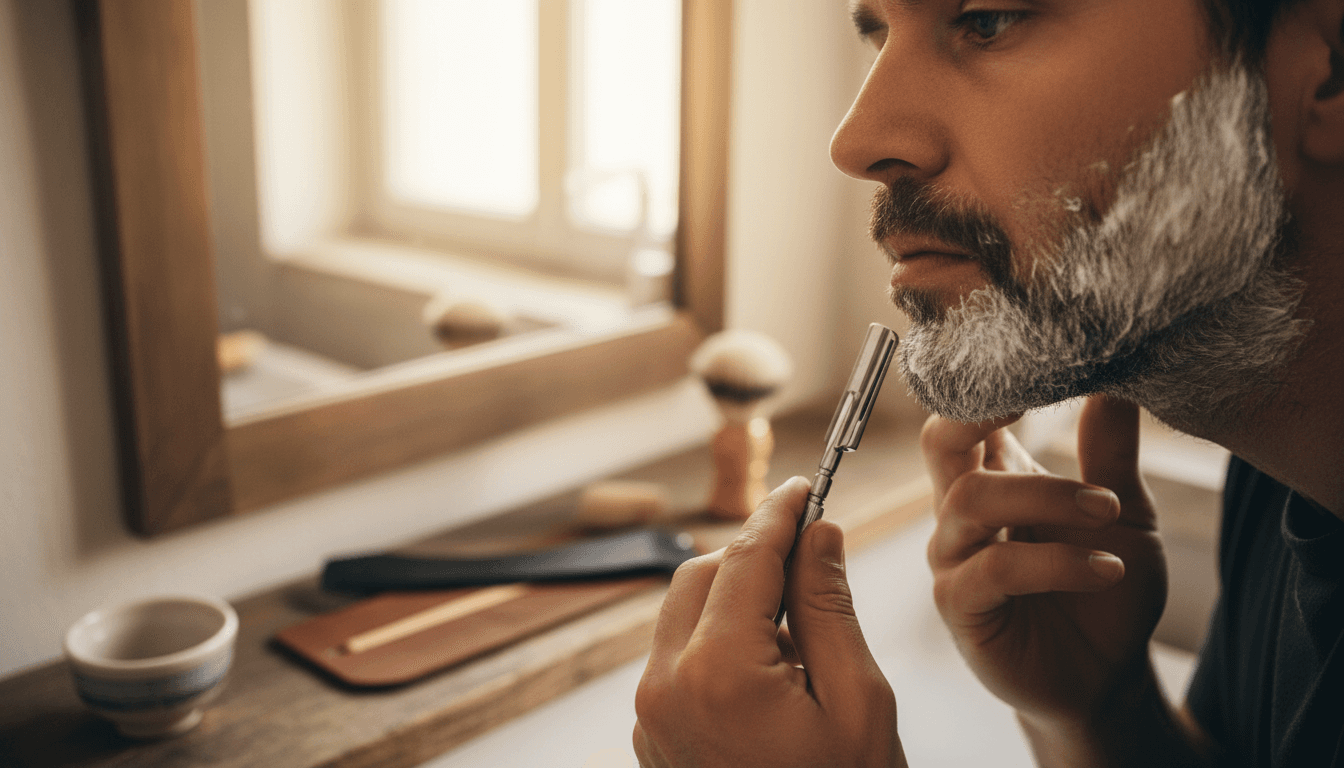
Ever looked in the mirror a few days after visiting the barber and wondered how to keep those perfectly sharp beard lines for longer? Or maybe you've tried to shave your neck with a regular razor and ended up with irritated skin and a crooked line that just ruined the whole look?
You're not alone. It's a common problem many men face. A professional beard trim at the barbershop is the foundation, but the key to a consistently great look is home maintenance. And the best tool for the job is a shavette. It might seem intimidating, but I'll show you that with a little practice and the right technique, you can create clean beard lines that look like they were done by a pro.
Why a Shavette, Not a Straight Razor or an Electric Razor?
Clients often ask me about the difference between a shavette and a classic straight razor. It's simple: a classic straight razor has a fixed blade that needs to be regularly sharpened and stropped. A shavette is essentially its modern sibling—you hold it the same way, the technique is similar, but it uses disposable, replaceable blades. For home use and for beginners, it's the ideal choice.
- Hygiene: After each shave, you simply replace the blade with a new, sharp, and clean one. No worries about bacteria.
- Sharpness: You don't have to learn how to sharpen. A new blade is always perfectly sharp and guarantees a clean cut without pulling.
- Precision: A single blade gives you absolute control and visibility. Unlike multi-blade cartridges, you can see exactly where you're shaving, which is crucial for creating sharp beard lines.
- Affordability: The initial investment in a quality shavette is lower than for a straight razor and its maintenance kit. And high-quality blades cost very little.
Compared to an electric razor, a shavette gives you a much closer shave and more defined lines. An electric razor tends to chop the hair, whereas a sharp blade cleanly cuts it right at the skin's surface.
What You'll Need: The Kit for a Perfect Beard Lineup
Before you get started, gather everything you need. The right tools and products will not only make shaving easier but also protect your skin.
- A quality shavette: It doesn't have to be the most expensive one, but it should fit well in your hand and have a reliable blade-holding mechanism.
- Sharp blades: This is the most important point. Don't skimp on blades. A dull blade pulls at hairs and irritates the skin. I recommend platinum or stainless steel blades. You usually snap one blade in half, so you get two uses out of one.
- Pre-shave oil or cream: This creates a protective film on the skin, allowing the blade to glide better. Essential for preventing irritation.
- Transparent shaving gel: Unlike traditional foam that covers everything, a clear gel lets you see the lines you're creating. This is absolutely crucial for precise beard contours.
- Hot towel: To steam your skin and soften the beard before shaving.
- Alum block: A little miracle for if you cut yourself. It instantly stops bleeding and has antiseptic properties.
- Alcohol-free aftershave balm: Soothes the skin, moisturizes it, and helps prevent redness and bumps. Alcohol unnecessarily dries out the skin.
Preparation is Key: How to Prep Your Skin and Beard
Never, and I mean never, skip the prep. An extra five minutes will save you days of dealing with irritated skin. The goal is to soften the beard and prepare the skin for contact with the sharp blade.
The ideal time to shave is after a hot shower when your skin is steamed and your beard is soft. If you don't have time for a shower, a hot towel will do. Soak a small towel in water as hot as you can stand (without scalding yourself), wring it out, and apply it to your neck and cheeks for 2-3 minutes. The heat will open your pores and soften even the toughest whiskers.
After steaming, gently pat your skin dry and massage a few drops of pre-shave oil into the areas you're going to shave. Let it sit for a minute. Only then should you apply a thin layer of transparent shaving gel. Now you're ready to shave with the shavette.
Proper Shavette Shaving Technique: A Step-by-Step Guide
For your first few attempts, go slowly and focus. This isn't about speed; it's about precision and safety. Hold the shavette lightly, with almost no pressure.
Step 1: Stretch the Skin
This is the most important rule. Always use your free hand to stretch the skin against the direction of the shavette's stroke. If you're shaving your cheek downwards, use the fingers of your other hand to pull the skin upwards. This creates a flat, firm surface for the blade to glide over smoothly. Shaving on loose, wrinkled skin is the fastest way to get cut.
Step 2: The Right Angle
The ideal angle between the blade and your skin is about 30 degrees. If you hold the shavette too flat (a small angle), it will scrape the skin and pull the hair. If you hold it too upright (a large angle), you risk cutting yourself. Find that sweet spot where you feel the blade cleanly slicing the hair without needing to apply pressure.
Step 3: Short, Gentle Strokes
Forget the long, sweeping strokes you see in cartridge razor commercials. With a shavette, you work in short, controlled strokes, about 2-3 centimeters (an inch) long. Don't press down. The weight of the shavette and the sharpness of the blade do all the work. Your job is just to guide it in the right direction and at the right angle. You can wipe the blade on a towel after each stroke to keep it clean for the next one.
Step 4: How to Shave Your Neck
A clean-shaven neck is the foundation of a sharp beard. First, define your neckline. Imagine a curve running from one ear, under your jaw, to the other. Everything below this line should be shaved. To start, it's better to set the line a little lower—you can always move it up. Tilt your head back and stretch the skin on your neck. Always shave with the grain (usually downwards) to prevent irritation and ingrown hairs. Use short, gentle strokes from your defined line down towards your Adam's apple.
Step 5: Shaping the Cheek Lines
Symmetry is key here. Start on one side. Imagine a straight line from the top of your ear to the corner of your mouth. This is a natural line you can follow. Place the shavette and use gentle, downward strokes to create a clean edge. Again, it's better to start higher. It's easier to gradually lower the line than to fix a contour that's too low. Then repeat on the other side, trying to achieve as much symmetry as possible. It helps to look straight into the mirror, not from an angle.
Common Beginner Mistakes and How to Avoid Them
- Too much pressure: The biggest mistake. Let the shavette glide with its own weight.
- Rushing: Shaving with a shavette is a ritual, not a race. Set aside enough time, especially at the beginning.
- Dull blade: As soon as you feel the blade pulling, change it immediately. It usually lasts for 1-3 shaves, depending on beard thickness. For lining up, feel free to change it after every use.
- Skipping prep: Cold skin and a tough beard are a recipe for disaster. Always steam and use a pre-shave product.
- Wrong angle: Too steep of an angle leads to cuts. Practice on less sensitive areas like your cheeks before moving on to your neck.
Aftercare: The Key to Preventing Irritation
Once your lines are done, rinse your face and neck first with lukewarm water to wash away any remaining gel and hair. Then, follow up with cold water. This will close the pores and soothe the skin. Gently pat your face dry with a clean towel—don't rub, just pat.
If you did happen to nick yourself, now is the time for the alum block. Wet it with cold water and gently apply it to the affected area. It might sting a little, but the bleeding will stop instantly. Finally, apply a quality aftershave balm to the entire shaved area. Choose one that is alcohol-free and massage it into the skin to soothe and moisturize it.
How Often Should You Line Up Your Beard?
That depends on how fast your beard grows. To maintain perfectly sharp lines, it's ideal to do this lineup every 2-4 days. Shaving more frequently could unnecessarily irritate the skin. Listen to your body. The goal is for your beard to always look well-groomed, as if you just left the barbershop.
Mastering the shavette takes patience and practice, but the feeling of control and the result of perfectly sharp lines are worth it. And if you want to treat yourself to professional care once in a while, get advice on your beard shape, or are just unsure about the first step, we're here for you. Stop by Baza Barbershop at Arbesovo náměstí in Prague 5. We'll be happy to show you everything and give your beard the shape it deserves.